Making plaster leaves with your hands. In this master class, I will tell you how to make casts of leaves from plaster, which later can be used to make a cosy autumn candlestick.

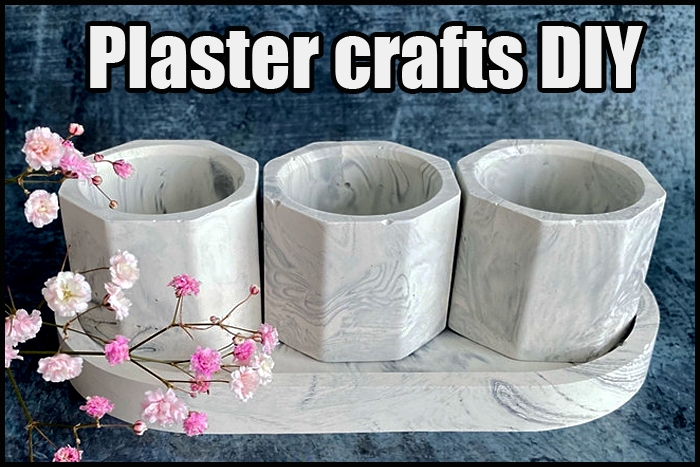
Handicrafts made of plaster.
Table of Contents
Such plaster leaves can become excellent bowls or vases for small things. They can also be used as ashtrays or stands for aroma sticks and cutlery… By fixing a leaf in a frame on a beautiful backing, you can create an unusual “picture”. Several such “pictures” and a plaster herbarium can help you to decorate the wall. Leaves can be used to make a frame for a mirror or the base of a table lamp. They can also be used to assemble a decoration for a ceiling. These are just a few examples of the use of plaster casts, your imagination can help you to create even more!

Materials required.
So, to make plaster leaves, we need simple and accessible materials:
sand (we will put the casts on it);
plastic wrap (polyethylene) to protect the surface of the leaves from sand grains;
a leaf of the plant;
plaster;
water.

How to make plaster leaves – tutorial.
Choose an appropriate leaf. Appropriate in our case means beautiful and simple. I mean don’t take leaves of mountain ash or acacia for work. Laves of maple or burdock will be the best choice. I have a special love for burdock. When choosing a leaf, pay attention to the shape or pattern of the veins – this is important. A maple leaf has an interesting shape, but a burdock leaf has a rich vein pattern. So casts of burdock will be very textured.

Prepare a place where you will put the casts. Pour regular sand into a box or on a tray. Moisten it with water – wet sand holds its shape better. Think in advance about what kind of casting you want to get. If you want a bowl (dish, candle holder), make a hill out of the sand. If you want a convex casting, make a pit. If you want to make flat casts, you can do without sand by laying the leaves simply on the table.
Cover the sand with a piece of plastic wrap. Place the leaf on the plastic wrap with the veins facing up.

Prepare the plaster solution – pour the plaster in water so that it looks like a pile. The gypsum will soak in water quickly – pour the water until the top of the pile begins to absorb water slowly. Allow the plaster to soak up the water and stir the solution.
Use a spoon to put the solution on the leaf – start from the petiole to the end of the leaf, and from the center vein to the edges. Spread it evenly. The layer of plaster depends on the size of the leaf. For very large leaves its thickness can be 2-2.5 cm, sometimes more. In this case, it makes sense to apply two layers, laying between them pieces of wire. It will be more reliable that way. Casts of small leaves may be thin – 3-5 mm.

Wait a while – the plaster should harden. Then turn the casting over and, holding it in place, remove the leaf from the plaster. Separate it from the edges to the center vein and from the end to the petiole. If the central vein doesn’t come off well, cut it and take it out of the casting piece by piece.

Once the plaster leaves are completely dry, they can be drilled, painted, and glued. Large leaves are better to attach to the wall with a self-tapping screw. Small leaves can be glued using a glue gun or special construction glue (sometimes it is called “liquid nails”). Acrylic paints are great for painting plaster leaves.

See related posts

Wire wrapped tutorials PDF Valeriy Vorobev