

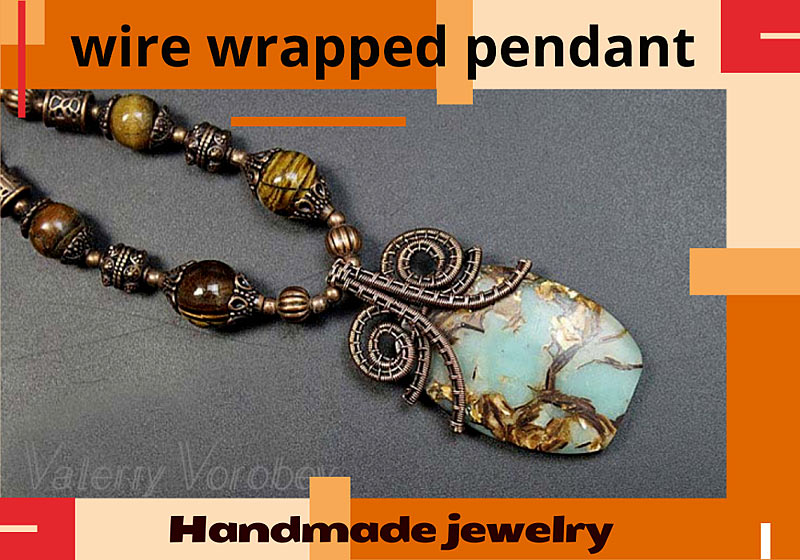
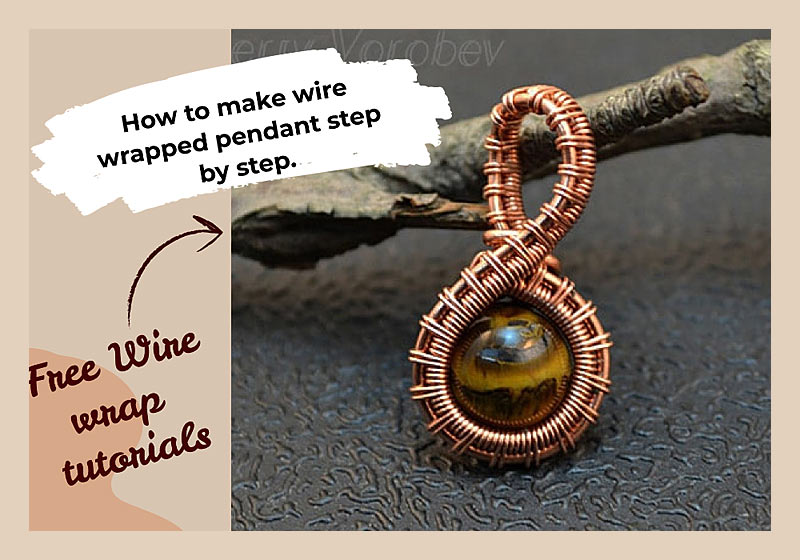
Wire weave pendant tutorial. Basic wire wrapping pendant tutorial for beginner. Wire wrapped bead pendant.
Making wire and stone jewelry is actually a lot easier than it looks. By learning this technique, you can create beautiful and unique jewelry with just a few basic materials. In fact, all you need to get started is a stone, wire, and two types of pliers.

How to make a simple pendant out of wire and beads? What tools do I need? What kind of wire to use? How do you make a ball at the end of a wire?
I will try to answer all of these questions in detail today.
I often measure the thickness of the wire in MM (millimeters). Below you can see a chart to compare the thickness in MM and GA.

Copper wire. Wire weave pendant tutorial.
Table of Contents
Copper is often used for making jewelry and there are many reasons for that. At first, its color is very beautiful. We also can patinate it in different ways. It is very soft, that’s why it is very easy to work with it. But it is also very cheap. These two aspects make it the perfect choice for beginners. With help of it, you can gain experience and make some fascinating pieces of jewelry for you and your friends. When your level is enough, you can start using more expensive material, for example – sterling silver.
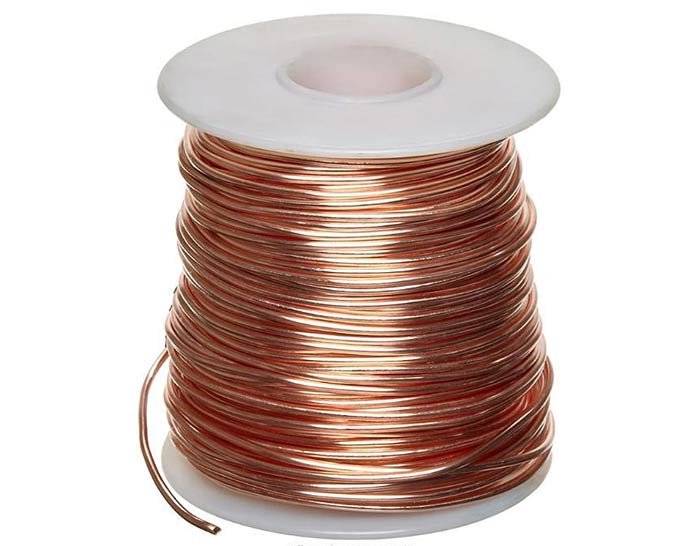
We will need natural copper wire. I usually use natural wire to make my jewelry, and of course, I use copper wire. Natural copper wire can be annealed, soldered, flattened (forged). It can also be drawn through spinnerets (change shape), we can patinate and polish it. The only drawback of copper is that it gets darker over time, it slowly covers with a natural patina.
Even now, after 20 years of working with wire, I often go to an electrical store and buy skeins of copper wire.

Such wires are used for electrical wiring in the house.

When I come home I carefully cut off the insulation with a knife.

I’m not urging you to do the same. Thank goodness you can buy a lot of different craft wire in the store now.
Use a medium-hard 1mm copper wire for the base. And soft 0.4mm copper wire is good for weaving.
Wire weave pendant tutorial. Tools.
We need a small set of hand tools.
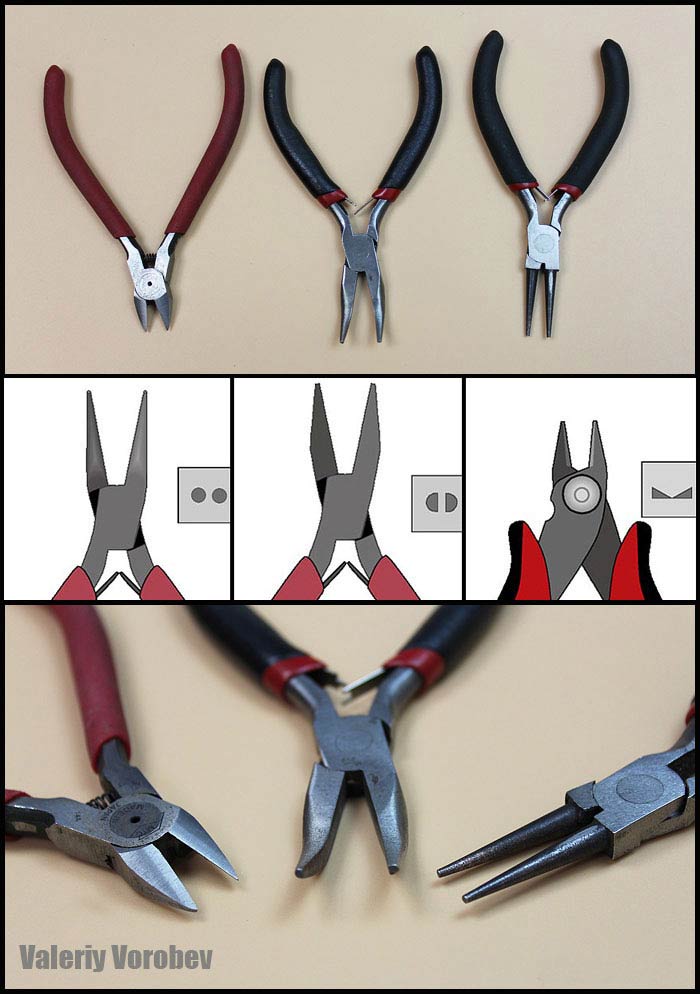
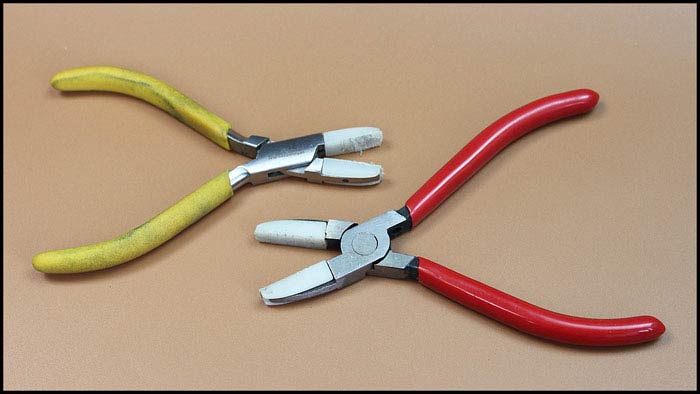
I highly recommend buying the rubber tipped pliers. This is a very useful tool for working with weaving.
Blow torch. The flame temperature must be at least 1300 degrees Celsius. Otherwise, the copper wire will not melt and you won’t be able to make a ball on the end of the wire.

How do you make a ball at the end of a wire?
First, light a blow torch. Take a piece of copper wire with tweezers. Vertically bring the lower end of the wire to the fire. Bring the very tip of the wire to the tip of the blue flame.

Very soon the wire will begin to melt and a ball will be formed on the end of the wire. If you hold it a little longer, the ball will get bigger. Cool the wire, put it in water. Make a ball on the other side of a piece of wire as well.
Look at the photos below. You can see how the ball is getting formed there.

The ball will not be perfect, so it will need to be sanded and polished.

Wire weave pendant tutorial.
We need two pieces of copper wire about 15-16 cm long and 1 mm thick. Make balls on ends, grind and polish them. Take a stone bead with a diameter of 12 mm with a hole.

Weave together two wires approximately in the middle. Use any method of weaving.
You can learn to make basic weaves using one, two, etc. wire frames.
Learning how to make the basic weaves is very important. After that, you can do almost anything and you can make any wire work. It is very easy, I will show you everything and you will see for yourself.
Check out my Free Basic Course. There are a lot of interesting tips there.

Bend the weaving around the bead. Fix the bead. While weaving, slip a thin wire through the hole in the bead with which you weave back and forth.

Then do as shown in the photo. Let your imagination run wild.

Don’t forget to make a loop. Attach a ring for a cord or chain in it.

Copper patination and polishing.
I usually patinate copper. I use ammonia for that. I hang the pendant over the ammonia solution. After a while, the copper gets darker.

You can buy special solutions for patination. Read the instructions before using.

After patination, I polish the wire. I use grinders with special felt tips. I also use polishing pastes.

To prevent copper from darkening over time, I sometimes coat the product with a special colorless varnish.
The pendant is ready! If desired – you can wear it, give it as a gift or even sell it!
That’s all for now. Good luck with your work!
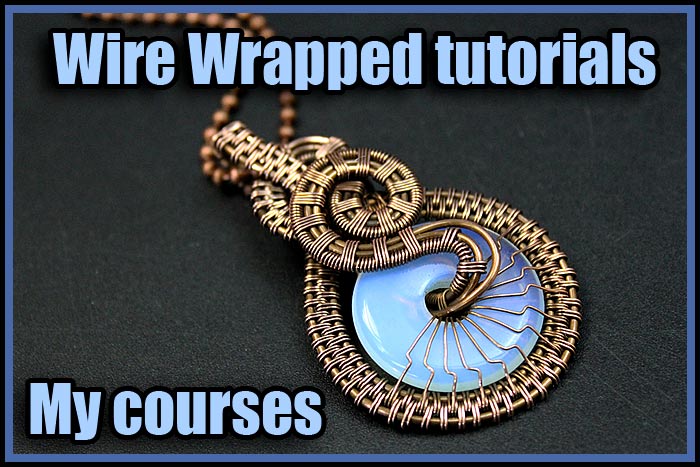
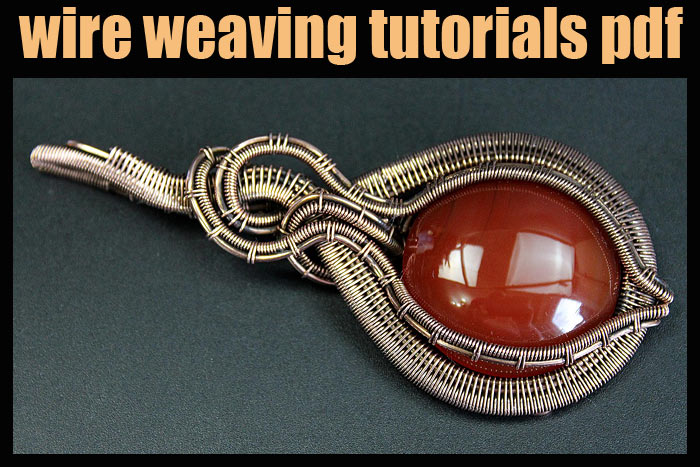
Also, check out Wire wrapping pendant tutorials:
Wire wrapped tutorials Valeriy Vorobev

Wish you all good luck in creation. Save the pin on your pinboard on Pinterest!

