

Polymer Clay and Foils (gold leaf). How do you use foil resin transfer sheets? How do you put foil on polymer clay? Polymer clay beads diy. How to make polymer clay beads. Polymer clay instructions. Polymer clay beads techniques.
Polymer Clay and Foils
Table of Contents
What is Dutch metal or gold leaf? Dutch metal is used to achieve a gilding effect on new objects or to restore antiques. It is an inexpensive imitation of gold leaf. There are no precious metals in Dutch metal. Without going into the chemical formulas, we can only say that Dutch metal can consist of copper, zinc, aluminum or tin alloys. It looks almost like a gold leaf but doesn’t have any gold in it. It can be used on wood, metal, plaster, glass, and other surfaces. Polymer Clay and Foils are often used together to make something special with your own hands.

Sheet Dutch metal is usually sold in a small package with sheets. There are two types of sheet Dutch metal: transfer leaves and loose leaves. As for transfer gold leaf, each individual sheet is placed on tracing paper or silk paper.
Loose leaves are covered with two sheets of paper. As for the transfer leaves, you simply need to cut off the desired shape and transfer it to the surface of the product being decorated. The paper is then neatly separated from the gold leaf. The loose leaves are cut on a special pad with a gilding knife. Then take it with a special brush and transfer it to the surface to be decorated.

Gold leaf for creative purposes. Polymer Clay and Foils.
Dutch metal is a material that many craftsmen love to work with, but most often it is used to create jewelry from polymer clay. The noble luster of gold leaf, the effect of craquelure (crackling) – products covered with Dutch metal always look very refined and noble.
Thin gold leaves or flakes of Dutch metal are usually made of aluminum and nickel and come in three basic colors:
Gold
Silver
Copper (in this case, a little copper is sometimes added to the alloy).

Peculiarities of work with a gold leaf. Polymer Clay and Foils
As with everything else, when working with Dutch metal, experience and the secrets of mastery come with constant practice. But when you begin to get acquainted with gold leaf foils, it is better to know a few nuances beforehand:
The material is very light, and will fly away after the slightest blow of the wind or even from the master’s breath. To make the gold leaf “obedient” it is necessary to avoid any draughts and other sources of air fluctuations.
If you use a gold leaf on small surfaces (for example on beads), it is recommended to cut the gold leaf in several parts beforehand, so it will be more convenient to work. You can do it with a scalpel or a sharp blade.

When you need to apply a gold leaf to a large surface, it is more convenient to take the leaf directly from the package in which the gold leaf is sold. It is not necessary to cut the sheets.
To take and transfer foil sheets, fragments, flakes of Dutch metal, you can use a brush. It is undesirable to touch the gold leaf with hands, as it will tear and darken immediately after contact with your fingers.
When working with a gold leaf and polymer clay, you can not use glue – sheets or flakes of a gold leaf are simply placed on the layers of clay with a brush. It is also not necessary to cover the products of polymer clay and Dutch metal with a special glue or varnish.

Popular techniques and methods of working with gold leaves. Polymer Clay – Foils – Gold leaf
Masters who work with polymer clay often use Dutch gold to obtain a gold leaf look. For example, people use it to create an imitation of mica. But this is not the only variant of “symbiosis” of gold leaf and polymer clay.
Polymer clay is very plastic (this is clear even from its second name – “plastic”), which means that you can add gold leaf to it, and then roll it. You can create a multi-layered structure, add some glitter, and much, much more. Among the most popular ways to work with gold leaf, craftsmen highlight the following:

On the finished product, the master applies foil as a whole sheet or cut in the form of squares, strips, etc. Depending on what kind of pattern is required. With this method of application, the cracks will be less than when applying the gold leaf on a layer of polymer clay.
On the product of unbaked polymer clay, the gold leaf is applied and then shaped stamps are stamped to create a volumetric texture. The layer of gold leaf is then removed from the jewelry, but it remains in the recesses – thus we can get a very beautiful effect.
Experienced craftsmen who have been working with Dutch metal for a long time recommend starting with simple techniques and products. For example, you can start with the creation of polymer clay beads in the “craquelure” technique.

Gold leaf beads in the “craquelure” technique. Polymer clay bead tutorial free.
For the work we will need:
Sheet Dutch metal (gold leaf) and black polymer clay.
Bead blanks made of polymer clay.

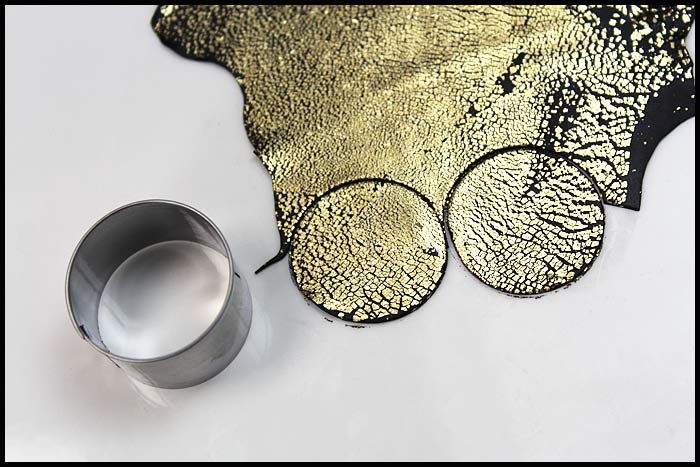
Roll out the black polymer clay.

Put some foil on it.

Use the roller to roll out the foil. Roll with force – first in one direction, then in the other.

Roll until cracks appear.

Next, we cut the clay for the beads.

We put it on one side first.

Then on the other side of the bead.
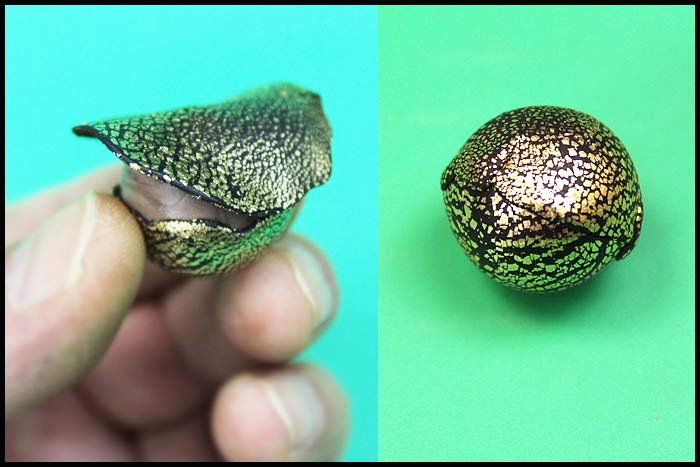
Then roll it well between the palms of your hands to make a round bead.

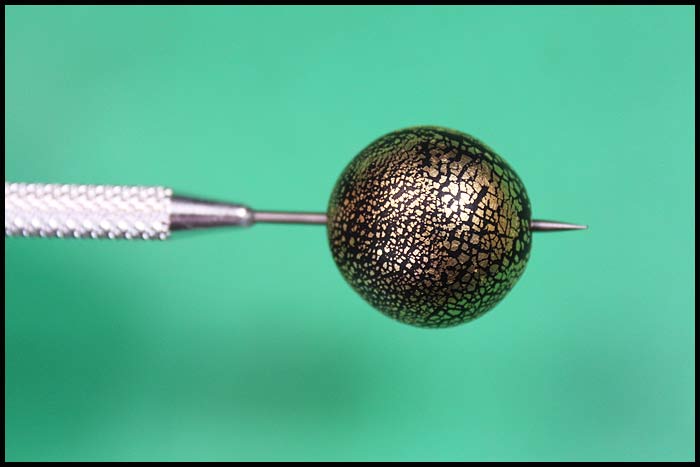
Next, make holes in the beads using an awl.
Prepare polymer clay beads for baking in the oven.

The temperature and baking time is specified on the packaging of your polymer clay.

Preheat the oven to the desired temperature first and then place the beads inside.

After the beads have cooled after baking, they can be coated with polymer clay varnish.
Necklace of beads and memory wire with your own hands.
We will need memory wire and necklace fittings.

I used a black silicone tube.

After taking preliminary measurements, I prepared all the elements for the necklace.

One by one, we thread the parts of the necklace onto the memory wire.


Make a loop at the end of the wire.

Shift all the elements to this loop. Bite off the wire using big wire cutters.

Make a second loop on the other side of the necklace.

Next, add a clasp and rings.

Necklace made of beads in the “craquelure” technique, polymer clay and gold leaves is finished.

Popular post: Mica powder for polymer clay. DIY necklace tutorial.
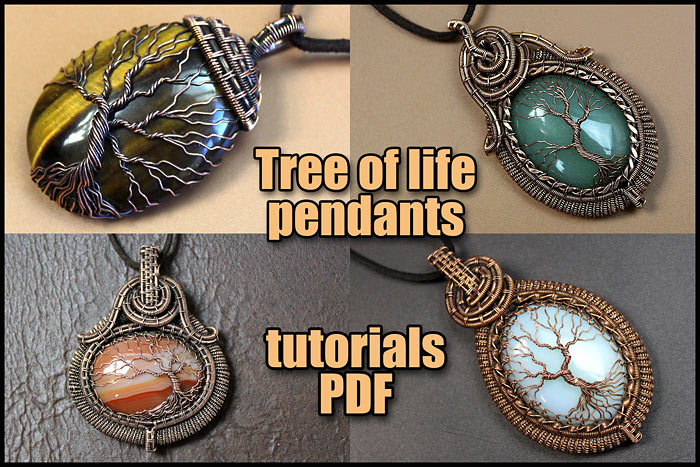
Wire wrapped tutorials PDF Valeriy Vorobev
See related posts


