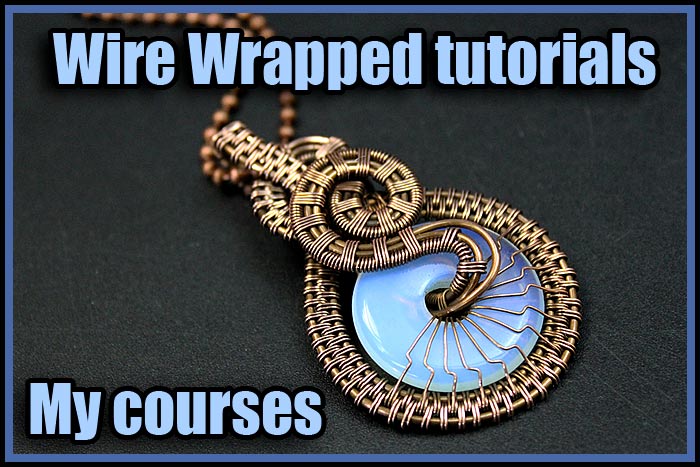
Wire wrapped pendant tutorial for beginners. How to make wire wrapped pendant. Free Wire weaving tutorials step by step from Valeriy Vorobev.
In today’s wire wrapped pendant tutorial we will make a pendant out of copper wire and a stone with a hole. The stone is in the shape of a “Drop”.

Copper wire for making the pendant.
Table of Contents
We will use the most common and cheapest copper wire. You don’t even need to buy copper wire in specialty stores, even copper wire from electrical wires will do. I myself often go to an electrical supply store and buy such natural copper wire. I use this kind of wire practically in every wire wrapped pendant tutorial.
Why do I use this kind of wire? This is a natural copper wire, with virtually no impurities. Such wire in our country has 98% of copper.
If you like to patinate wire, plush it, twist it, anneal it, grind it, you need only natural copper wire. It doesn’t matter if it’s silver, bronze, or brass – it has to be all-natural.
I am a fan of natural wire. I like to make vintage jewelry so it looks like old. And the weavings look more contrasting after patination and polishing. All the wire patterns become well visible. It looks awesome.

At home, I cut the wire to the length I need and remove the protective layer from the wires with a knife. I have been using this kind of wire for more than 15 years.

I get 0.4 mm thin wire from welding cables. There are a lot of them in one cable.

You don’t have to do as I did and you can buy any other wire of the same thickness at specialty craft stores. In that case, the patination and polishing process will not be available to you. So, if you want to follow my wire wrapped pendant tutorial (to patinate and polish your jewelry pieces) you need to use only natural wire as well.
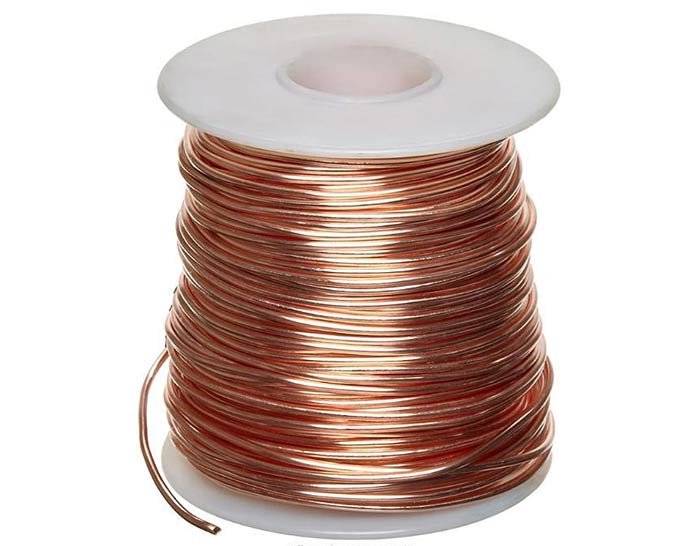
We need 1mm copper wire for the base and 0.4mm for the weaving.

Wire wrapped pendant tutorial. Tools for working with wire.
To be honest, to make such a pendant, you can perfectly do without wire cutters and fine tip pliers. But for work with wire, I recommend having at least a minimal set of hand tools.

Be sure to buy nylon tips pliers. It is an indispensable tool for working with weavings. I think you are familiar with the rest of the tools.
For polishing, I use a grinding machine with special attachments for sanding and polishing. For polishing, you also need polishing pastes.

For patination, I use either ammonia or special ready-made solutions for patinating metals. This is a secret element of my wire wrapped pendant tutorial that makes my jewelry pieces so unique.
Wire wrapped pendant tutorial

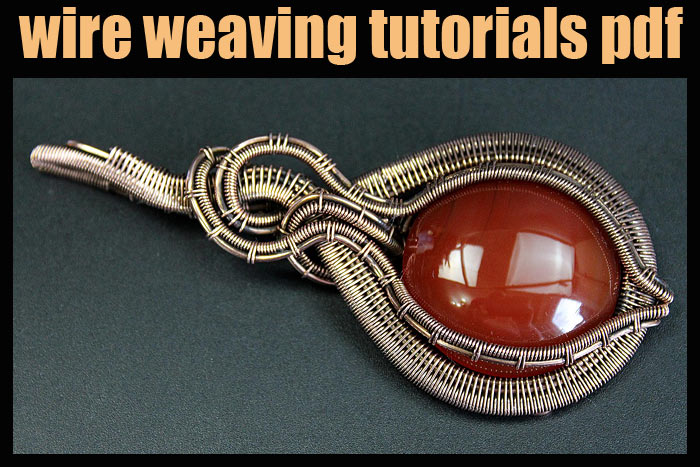
An easy pendant to make, but it looks very pretty.
We need three pieces of 1 mm thick wire about 40 cm each. It all depends on the size of your stone and the number of twists you make around the stone.
Weave the three wires together as shown in the photo below in any weaving method. The different weaving methods for 1, 2, 3, 4… main wires you can find in my free course.

Slip one end of the wire through the hole in the stone. Bend the weaving around the stone.

Bend the weaving.


Now you need to make a loop for the chain. You can make it by bending the weaving on a round stick.

Next, all the weaving are placed one by one around the stone.

Cut off the excess wire with wire cutters. Hide the ends behind the weaving, so that they do not cling to clothing and scratch the skin.

All we have to do is to patinate the wire and then polish it.

To prevent the wire from darkening over time, you need to cover it with a special varnish. Even colorless nail polish will do.
As I said before, if you are using a wire other than natural copper, you do not need to patinate and polish the wire. This is the end of my today’s wire wrapped pendant tutorial – see you next time.
See related posts:


Wire wrapped tutorials Valeriy Vorobev