Polymer clay jewelry tutorials. Polymer clay bargello technique. Pendant and earrings made of polymer clay. Instructions for beginners.
Bargello technique.
Table of Contents
Bargello is a word that came from the Gothic word “Bargi”, which means tower, castle, a tall palace that looks like a tower.
The Bargello is a palace that, during the early Middle Ages, served as the residence of the Padesta family and later of the Master of Florence. During the Italian Renaissance, Florentine embroidery was widely used in decorating the palace. It was used to decorate furniture and furnishings.
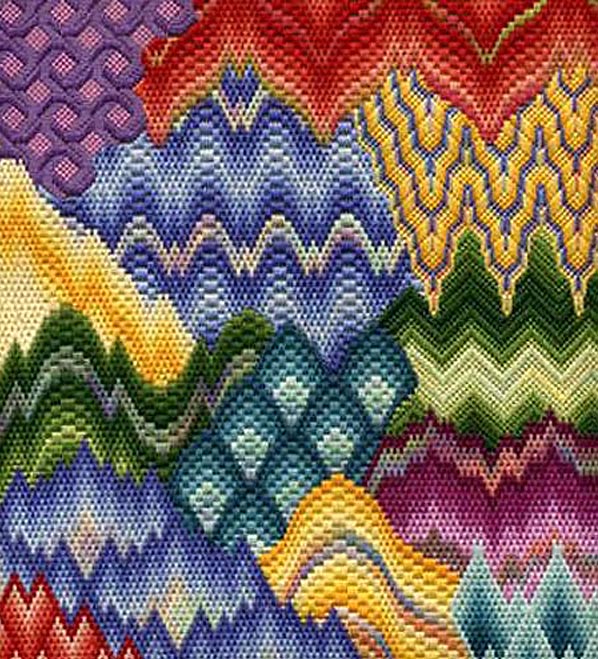
When decorating, masters used a peculiar technique called “Bargello stitch”. Florentine stitch and its varieties are used to perform it. Stitches form waves, tongues of flame, arcs, peaks, and gradual transitions of tones create beautiful abstract patterns.
For embroidery in this style, several shades of the same color or contrasting colors of equal brightness are used (ie, several pale or several dark colors). Complex patterns can consist of two or three shades of each color or from several sharply contrasting colors.
Inspired by beautiful geometric patterns, polymer clay masters have figured out how to repeat them in their jewelry. This technique is quite simple, but requires attention, accuracy, and most importantly – time.
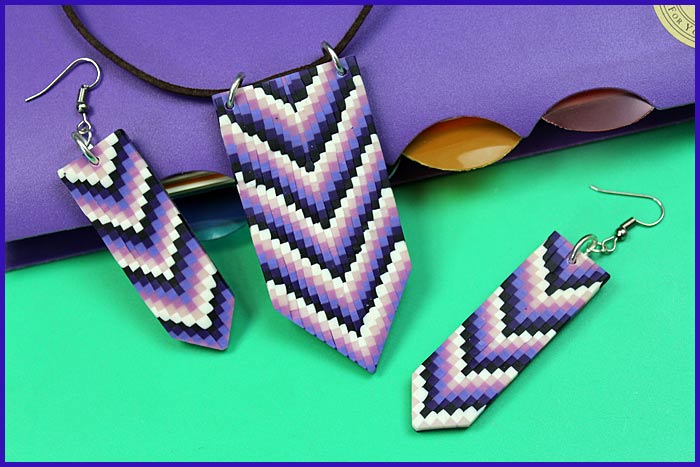
Homemade earrings that imitate exquisite bargello embroidery – what a great idea, right? Light and yet beautiful – these are the epithets that describe such polymer clay products. Today I have prepared for you polymer clay jewelry tutorials that will help you to master the bargello sculpting technique.
Embroidery is one of the most common and available types of applied art.
The geography of this type of craft is huge! Try to find a nation, whose national costume would not be decorated with embroidery – it will be difficult.
The art of embroidery is one of the oldest, and of course, as any other art, have experienced not only periods of highs but also falls. However, such a kind of “swing” does not affect our enthusiasm for this handicraft. Even more, the beauty of embroidery makes us look for ways to repeat it in other materials and techniques.
Lovers of modeling from polymer clay has long proved that embroidery can be a great source of new ideas to implement in clay.
Bargello embroidery is not only beautiful but also simple. It is performed by parallel stitches, arranged in a zigzag curve using threads of different shades. The color transitions are very smooth, with a gradient effect.

The same can be done in modeling. Cutting narrow strips of polymer clay, laying them out with an offset – all this can help you to imitate the classic “bargello” patterns: waves, flame tongues, arcs and peaks, while maintaining the beauty of the transition of colors, tones and halftones.
Tints of one color or several colors should be used so that the smooth transition from dark to light and vice versa is obtained. Patterns must be repeated to form a single “canvas”, and “stitches” of polymer clay should be placed in a sequence – vertically or horizontally, from right to left or vice versa.
Imitation of “bargello” embroidery made of polymer clay can be used to create jewelry and ornaments. Thus you can compose a variety of panels and decorative details. If you do not forget that the “embroidered canvas” can be arranged in two horizontal and two vertical directions, the kaleidoscope effect will be added, which will certainly enhance the visual impression.
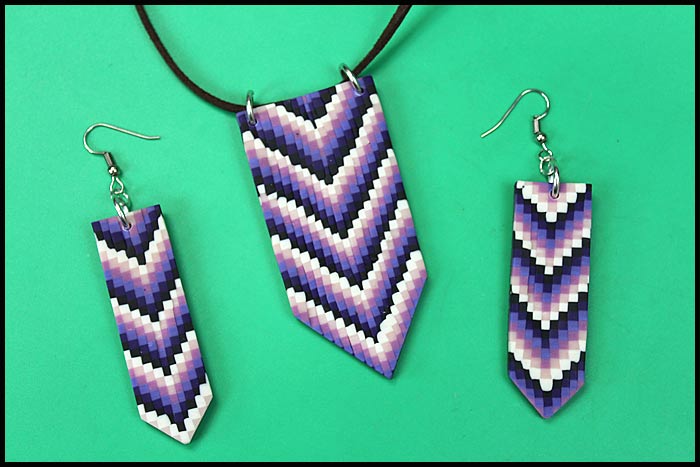
Pendant and earrings made of polymer clay in the Bargello technique.
Materials and tools needed.
Polymer clay in different colors
Rolling pin and paste-machine
Hard blade
Polymer clay varnish and a brush
Manual drill
Tools for assembling
Fittings
Waterproof sandpaper
Polymer clay jewelry tutorials.
So, let’s start sculpting a pendant and earrings from polymer clay. Take polymer clay of different shades, based on your preference. The colors can create a contrast to each other or can be soft, pastel colors.

Roll out all the shades of clay on a pasta machine. Keep this sheet the same maximum thickness (about 5 mm).

Use a square-shaped cutter and cut out a square of each clay layer that you will be working with.

Stack them in the order you like, slightly rolling each layer with a rolling pin. Do this gently, without pressure, so as not to deform them.
Put the resulting cube in the fridge for 15-20 minutes or in the freezer for 7-10 minutes. This will help the clay to harden so that it doesn’t move when we slice it.

With a hard blade, cut the cube into plates, and then cut each plate into equal strips.


Choose the polymer clay of any color suggested above and roll out into a layer about 2.5 mm thick.

Lay a strip of clay, next to it another one but with an offset of one square. You can use a toothpick to slightly smooth out the strips, pressing on the strips from the sides.

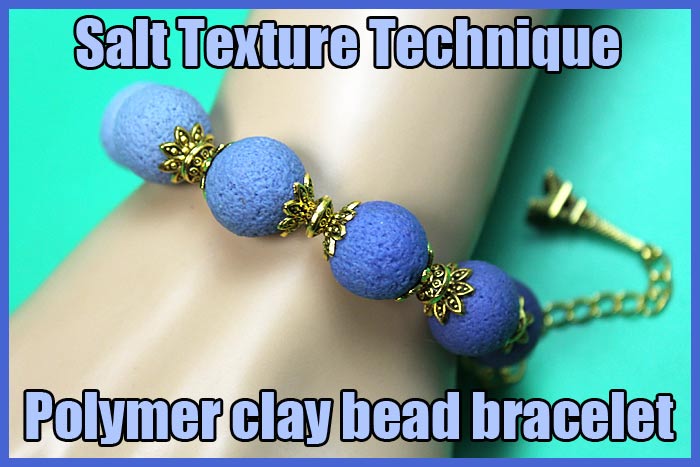
Popular post: Mica powder for polymer clay. DIY necklace tutorial.

To speed up the process and make the narrow strips longer, join together a few strips of clay.

Or at the very beginning, make two or three squares of the same color with a cutter and stack them by color. And then you can immediately cut off such a layer of clay. But there is a disadvantage here – it is not easy to cut a large and even layer. Keep that in mind.

Stack a certain number of strips and then change the direction of the shift downward. You should have a zigzag pattern.
From time to time, lightly roll the surface with the rolling pin without pressing it.

Lay out enough strips to make the desired ornament. Thus you can make your own unique decorations.

Cut out the pendant and earrings.

Polymer clay jewelry tutorials. Baking polymer clay in the oven.
Before you start making polymer clay crafts, you should familiarize yourself with the methods of polymer clay baking, temperature settings and safety rules when working.
Preheat the oven to the desired temperature. Place the polymer clay work pieces in the oven.

The temperature and baking time is specified on the package of your clay.
After about 30 minutes, take the pieces out of the oven. When the clay has cooled, drill holes in the polymer clay.

Sand the pieces with sandpaper. Coat with colorless varnish.
After the varnish dries, add the costume jewelry fittings.
Pendant and earrings in the bargello technique are done!
Polymer clay jewelry tutorials. Popular posts:


Wire wrapped tutorials Valeriy Vorobev