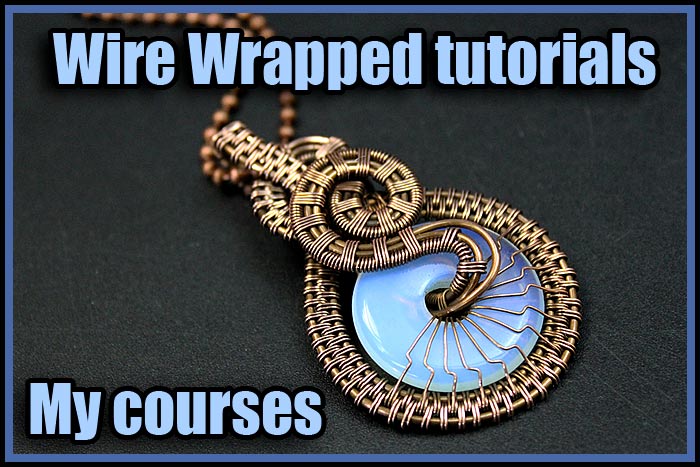
Wire weaving tutorials free for beginners. Wire weaving pendant. How do you wire wrap a stone with a hole?
Today I have new Wire weaving tutorials free for you. Together with you, we will make a cute wire pendant using wire and other available materials with our own hands. This tutorial will be suitable for beginners as well as experienced craftsmen.

Tools and materials for making the pendant.
Table of Contents
I used natural copper wire 1 mm thick for the base and 0.4 mm thick for the weaving. You can use any other wire of appropriate thickness for your jewelry.
My readers asked me to show them how to work with plastic beads. So in today’s tutorial, I used a large flat plastic bead (40mm diameter) with a hole instead of a natural stone.
Why do I rarely use plastic beads? I mostly use natural stones for my jewelry for one simple reason. I use natural wire in my jewelry, and then I patinate and polish it. When polishing the wire it is very easy to damage the plastic beads. You have to be very careful not to damage the plastic. But, if you really want to, anything is possible! So today we will use plastic beads.

We won’t need a lot of tools. A small set of hand tools will be enough.
Wire weaving tutorials free for beginners.
We will need three pieces of wire about 80 cm long and 1 mm thick.

Stick one of the wires through the hole in the bead and bend it as shown in the photo.

Bend the other two wires in half and start weaving them together with the wire that is located around the bead.

Use any technique for weaving the wire.

Weave the wire around the bead all the way to the bottom of the bead.

Next, weave two wires together at a time.

Alternately, gently bend both pairs. Begin with the first one.

Then the second one.

Bend the weavings around the bead.


Attach (sew) these weavings to the weavings at the top of the bead.

Nicely bend the weavings at the top of the pendant.

Give free rein to your imagination, you do not have to repeat after me.


The photo below is the back side of the pendant.

In this photo, you can see the front side of the pendant.


Bend and fix the wire on the back side.

Bend the wire and make a loop for a chain (neckless) or cord. Here, on the back side, attach the wire to the weaving.

The pendant is done!

Patinating and polishing the copper wire.
If you use special wire, all you have to do is add a chain for a necklace or leather cord.
I patinated the copper wire in ammonia vapor and then polished. While polishing, I covered the bead with paper so as not to damage it. I rinsed it under running water. I also used a brush and liquid soap.
To prevent the copper from darkening over time it can be coated with a colorless varnish. That’s all for today, I hope you enjoy my Wire weaving tutorials free.


Popular posts:
- Wire wrap pendant step by step tutorial for beginners.

- Wire weaving tutorials free.
- Wire wrapping tutorials free.
- How to wire wrap pendant.
- Labradorite pendant necklace DIY.
- Making wire coils. Tutorials for beginners.


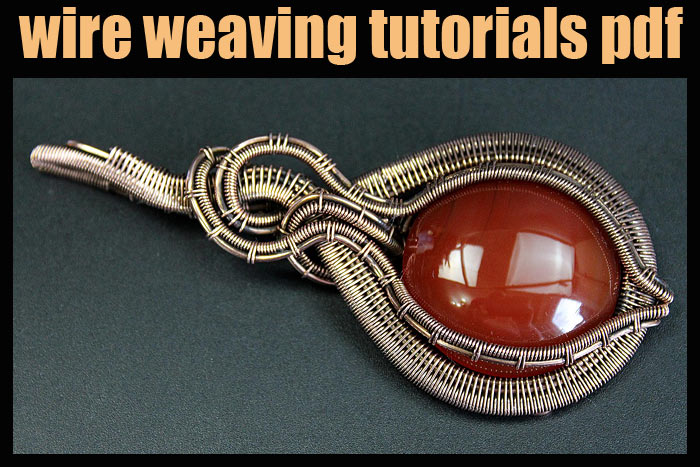
Wire wrapped tutorials PDF Valeriy Vorobev